Posts Tagged with “diy”

Hacking Together A DIY IKEA Standing Desk

Update: I’m now using an upgraded hack. See my Custom DIY standing desk with Ergotron LX Dual Stacking Arm

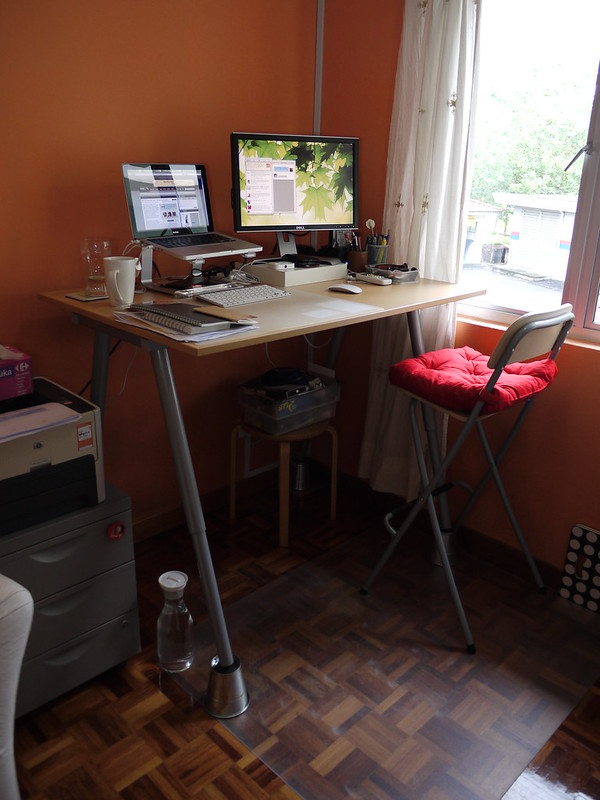
I’m standing as I’m typing this. I’m standing because I’ve got a new desk–a standing desk.

IKEA DIY standing desk

Why Use a Standing Desk?

One of the first questions I get when I tell people I’m now standing while working is why?

The biggest motivation for me was because I didn’t want to sit on my ass the whole day. I feel that sitting for long periods has been contributing to my growing waistline and makes my work day very sedentary.

Standing on the other hand, takes a significant physical effort. At the end of my first week using the desk, my calves are sore, and I can feel my hamstrings and glutes at work. I can’t slouch while standing so my shoulders and back muscles are activated as well.

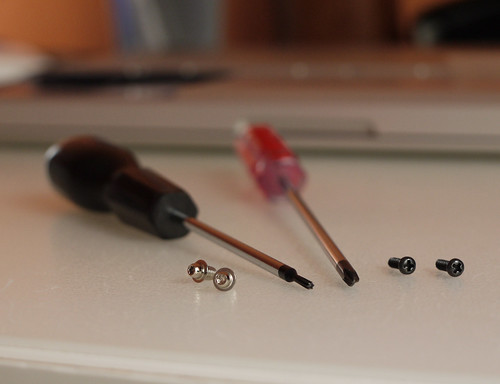
Building My DIY IKEA Standing Desk

I’ve never really stood up while working, so I wasn’t sure if I could really make the switch. So ideally my desk had to revert back to a sitting desk if standing and working didn’t work for me. One solution was to get an ergo desk–there’s Geekdesk in North America and I saw a pretty good one in The Curve in Mutiara Damansara–but they were way beyond my budget.
Read More »

Weekend Geek Project: Installing a SSD in my MacBook

My MacBook has served me well for 2.5 years. I had been planning to upgrade to a MacBook Pro but after a careful look at my financial commitments – an iPhone 5 upgrade, upcoming renovations and moving in to our new house, plus baby Zack – I decided upgrading to a new MacBook Pro would be burdensome for me. So instead I chose to upgrade the components of my existing MacBook.

I had already upgraded my RAM and replaced the battery, so this time I decided to replace my hard drive with a solid state drive (SSD). Why SSD? A SSD read and writes faster than a regular drive, which results in better performance for doing operations that involve reading and writing files. A SSD also promises better battery life and less heat. Check out this video of a SSD reduces boot times.

Installation Steps

Replacing a hard drive in a MacBook is a simple process that only involves 5 screws. See iFixit’s excellent guide for detailed steps with photos. Update: You can use Carbon Copy Cloner or SuperDuper – both of which are free and excellent – to clone your old hard drive to the new SSD before swapping them. Also, make sure you have the right tools:

MacBook SSD upgrade

  1. Torx screwdriver (left)
  2. Philips head screwdriver (right)

Click the images for full resolution versions.

Read More »